If you’re looking to live-stream to your Digital Signage and create live events to groups of players (or all of them) read on!
Creating live content via your Digital Signage is at the cutting edge of technology. It’s something we are being asked about regularly. Streaming live via your Digital Signage gives you a personal connection to your audience makes for some very engaging content.
Who would use live streaming for Digital Signage?
Live streaming could be used in a variety of ways. You could be looking to talk to your staff by creating a virtual “All hands meeting” or providing a platform for your HR representatives to deliver information.
Alternatively, you could be looking to display live TV via an IPTV source and publish this alongside other information such as concession stand pricing or information. You should check the T’s and C’s of all 3rd parties you use to make sure you’re comfortable with their terms.
How hard is it to stream via my Digital Signage?
Creating a streaming service on your Digital Signage can seem daunting at first. The main question to ask is
“Where is my stream source coming from?”
This will make the biggest impact on how you configure your stream. We support many different IPTV sources such as UDP, RTSP, HTTP (HLS) and more. Some of these services may be 3rd party suppliers or you may be hosting your own stream on an internal server. Any one of these will work.
How to use YouTube as your streaming service
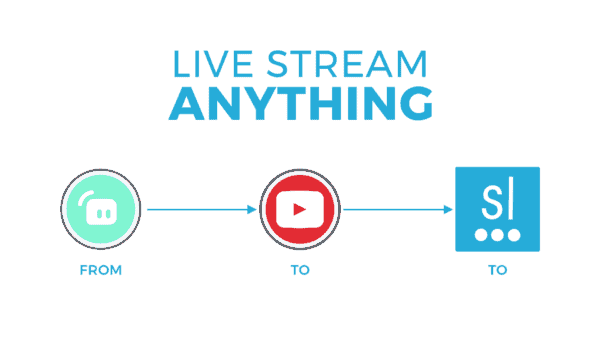
What will I need?
You’re going to need a few items to achieve your streaming setup.
- A Signagelive account with a licence and your player set up to display content.
- A YouTube account with streaming support. More information is provided by YouTube here.
- A streaming service platform such as SLOBS or OBS (Free open broadcast platforms).
Your Signagelive setup
The first thing to consider when looking to stream content is how you trigger that content to run. With most Digital Signage content (such as images and videos) you already know the duration you will want to display the content for, however, live streaming can be a little more fluid. Your stream will most likely not be Exactly the time you expect it to. What if you’re running a few minutes late and you’re not quite ready to hit the button?
Signagelive Web Triggers is perfect for this situation
By building a “Go live now” button into your web trigger, alongside an “End Stream” trigger. You can have full control over when your stream starts and stops. Further information about Web Triggers can be found here.
Now all you need to do is create a playlist with your YouTube URL and you’re ready to go live!
Setting up YouTube
You’ll need access to a YouTube account. Once you do, you can select the “Create and go live” function within the YouTube user interface.
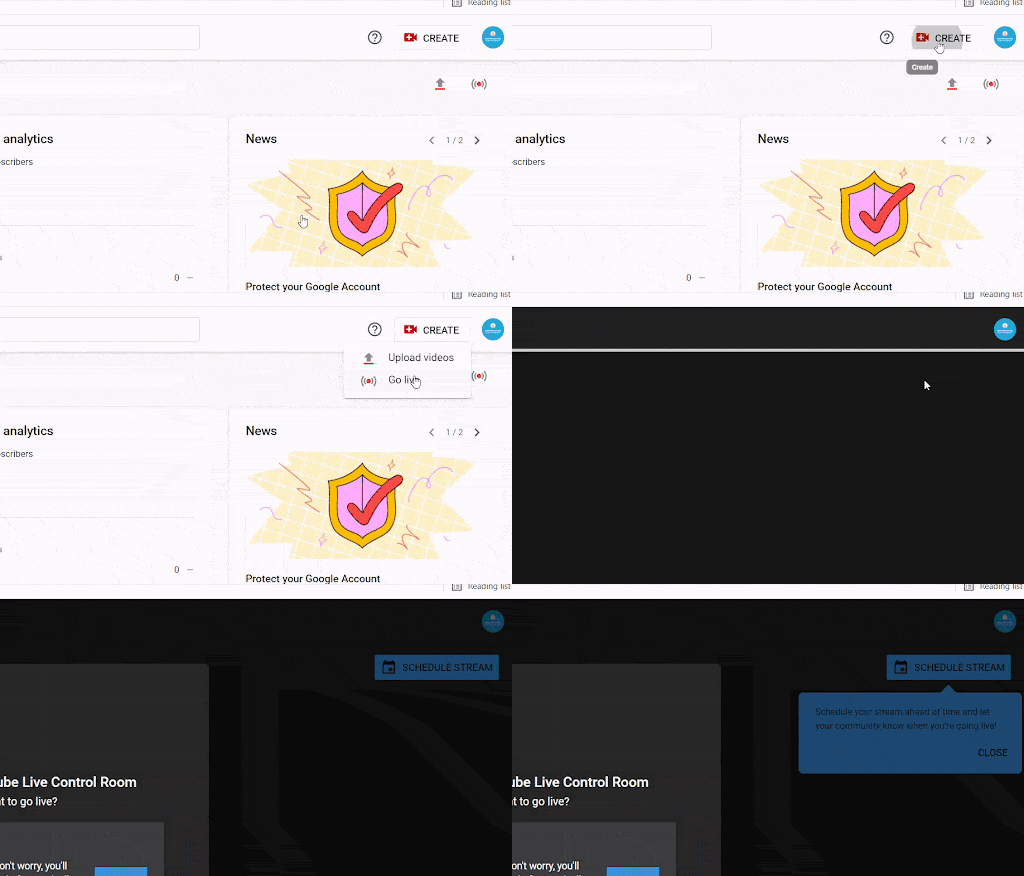
You’ll be able to give your stream a name and set other preferences to the way your content is delivered in this area.
It’s worth noting here that you can choose between a Private, Unlisted or Public stream. Both Public and Unlisted will work, however, if you’re looking to create a Private stream that is gated behind encryption, The YouTube path will not work. Streams that contain sensitive data should be done with dedicated tools.
Setting up your Streaming service
In this case, we’re going to use Streamlabs OBS, however, other services are available. You’ll need to install Streamlabs and log in using your YouTube credentials. Once you’ve done this you have a range of options to create the stream that you want.
Want to go live with your own webcam or share your screen? Why not both? For a full tutorial on Streamlabs OBS, take a look at this video tutorial.
Your SLOBS platform will ask you to log in with your YouTube account. This means that your service will automatically connect together so you don’t need to worry about any keys to gain access.
Once this connection is complete, by hitting “Go Live” within SLOBS, your stream will automatically start on YouTube.
Head to YouTube Studio web page and select the Manage tab icon on the left hand side. Click on the Live steam that matches the title name from SLOBS. Click EDIT button. Confirm the video isn’t set for Kids if not already configured as default option. Then scroll down until you find the “Allow Embedding” option and make sure the box is checked (by default this option is not enabled and this will prevent the video to be displayed within the Signagelive app/player). Now you can hit the save button.
Note: YouTube will automatically list this video as Public unless you have set up a private event. Further information on private events can be found here.
Scheduling your live-stream within Signagelive
Now you’ve got everything set up with your streaming service and YouTube, you’ll need to take your URL. This URL appears when you go live for the first time. We would advise running a test live service first and copying that URL (This URL won’t change next time you go live)
Open Signagelive and create a new asset within the Playlist editor. From there you can select Web Page. YouTube is considered a web page but as we mentioned before, we do also support RTP, HTTPS and other streams options.
You can now add your URL as an asset and schedule this asset to display when you want to go live!
That’s it. Just go live when you’ve scheduled and your YouTube stream will start up.

You must be logged in to post a comment.